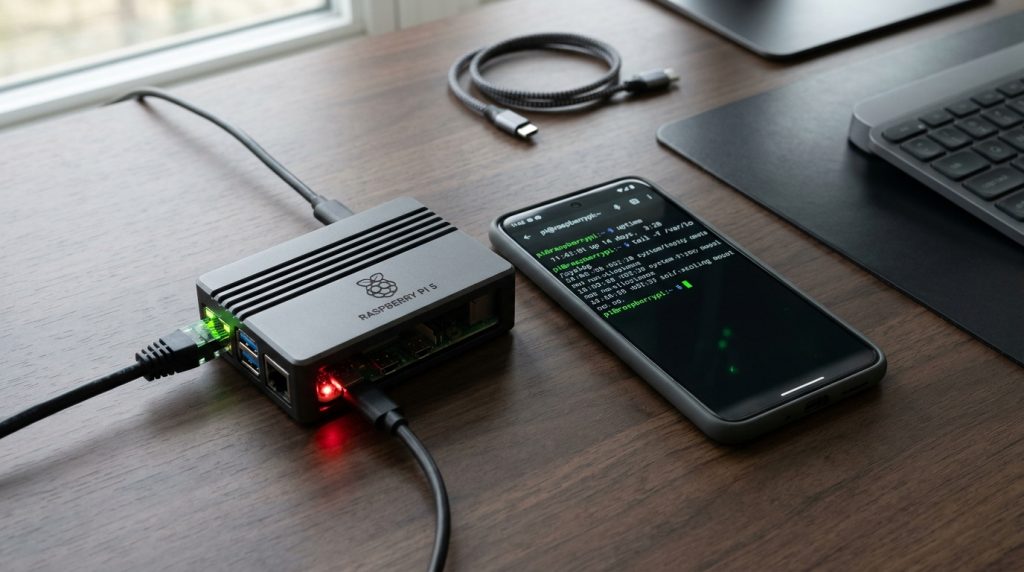
Connecting a dedicated HDMI monitor, USB keyboard, and mouse to a Raspberry Pi just to execute initial setup scripts is unnecessary friction. Whether you are deploying an OctoPrint server, Home Assistant hub, Pi-hole DNS sinkhole, or edge database node, setting up a Raspberry Pi completely headless (without an external screen or input peripherals) is faster, cleaner, and standard industry practice.
In this guide, we walk through the modern headless installation methodology for Raspberry Pi OS (Debian Bookworm), covering pre-configured Wi-Fi onboarding, SSH flag creation, cryptographic password generation, and secure root privilege management.
Method 1: Headless Setup via Raspberry Pi Imager (Automated)
The official Raspberry Pi Imager provides the simplest automated path for headless deployments:
- Download and launch Raspberry Pi Imager on your PC or Mac.
- Select your Raspberry Pi model and target operating system (e.g., Raspberry Pi OS Lite 64-bit for maximum server efficiency).
- Insert your MicroSD card and click Next.
- When prompted to apply OS customization settings, click Edit Settings:
- General Tab: Set hostname (e.g.,
raspberrypi.local), username, and a strong password. Enable Wi-Fi, enter your SSID and WPA2/WPA3 passphrase, and configure your wireless LAN country. - Services Tab: Check Enable SSH and choose Use password authentication or paste your public SSH RSA/Ed25519 key.
- General Tab: Set hostname (e.g.,
- Click Save and flash the card. The Imager automatically injects your credentials into the bootloader partition.
Method 2: Manual Headless File Injection on SD Card
If you downloaded a raw .img file or flashed via dd, you can configure headless access by creating two simple files directly in the MicroSD card’s readable boot partition (FAT32 filesystem):
1. Enable SSH (The SSH Flag)
In the root directory of the boot (or bootfs) partition, create an empty file named exactly:
ssh
Ensure there is no .txt or hidden file extension. When the Linux kernel boots, the system detects this file, initializes the OpenSSH daemon, and deletes the flag for security.
2. Configure User Credentials (userconf.txt)
To eliminate default credentials and prevent unauthorized intrusion, modern Raspberry Pi OS requires a userconf.txt file in the boot partition containing your username and an encrypted password hash separated by a colon:
username:encrypted_password_hash
You can generate an encrypted SHA-512 password hash on any Linux/Mac terminal using OpenSSL:
echo 'YourSecurePasswordHere' | openssl passwd -6 -stdin
Paste the resulting hash into userconf.txt (for example: pi:$6$rounds=4096$salt$encryptedstring...). Upon first boot, the system creates this user account automatically.
Locating Your Raspberry Pi on the Local Network
After inserting the MicroSD card and powering on the Raspberry Pi, wait 60 seconds for the initial filesystem expansion and network negotiation to complete. Find its IP address using any of these techniques:
- mDNS Hostname: Attempt direct connection via mDNS:
ssh pi@raspberrypi.local - Router DHCP Client List: Check your Wi-Fi router’s admin portal under Connected Devices for the hostname
raspberrypi. - Network Subnet Scan (nmap): Scan your local subnet from a terminal:
nmap -sn 192.168.1.0/24 | grep -B 2 "Raspberry Pi"
Configuring Root Password and Hardening Security
By default, the root account on Raspberry Pi OS has no password and cannot be logged into directly. To set a dedicated root password for emergency recovery:
# Set password for root
sudo passwd root

# Test switching to root shell
su -
To preserve security while allowing administrative flexibility, keep direct root SSH login disabled in /etc/ssh/sshd_config (set PermitRootLogin no or prohibit-password), and perform all superuser tasks via sudo or authenticated SSH key pairs.