Commercial smart video doorbells often look sleek, but they come with significant compromises: expensive cloud subscriptions, battery charging downtime in winter, and bulky plastic casings that ruin classic home aesthetics. Furthermore, they frequently disconnect from your home’s traditional electro-mechanical wall chime, leaving your house silent when cloud servers lag.
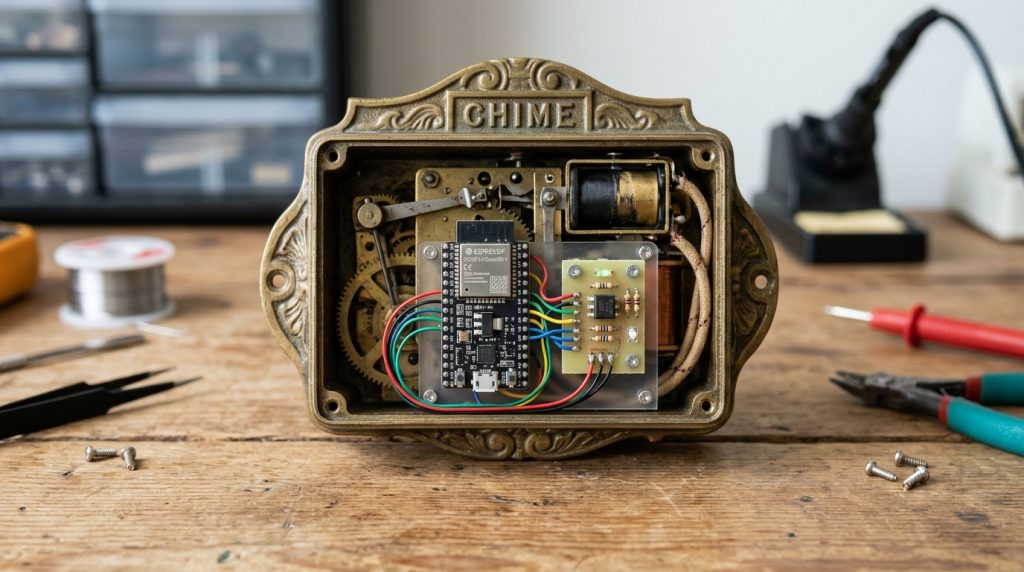
By retrofitting your existing mechanical doorbell with the ultra-compact, low-power Espressif ESP32-H2, you can maintain your physical brass chime while instantly sending zero-latency wireless alerts over Zigbee 3.0 or Thread / Matter straight into Home Assistant.
Why the ESP32-H2 Is the Perfect Doorbell Node
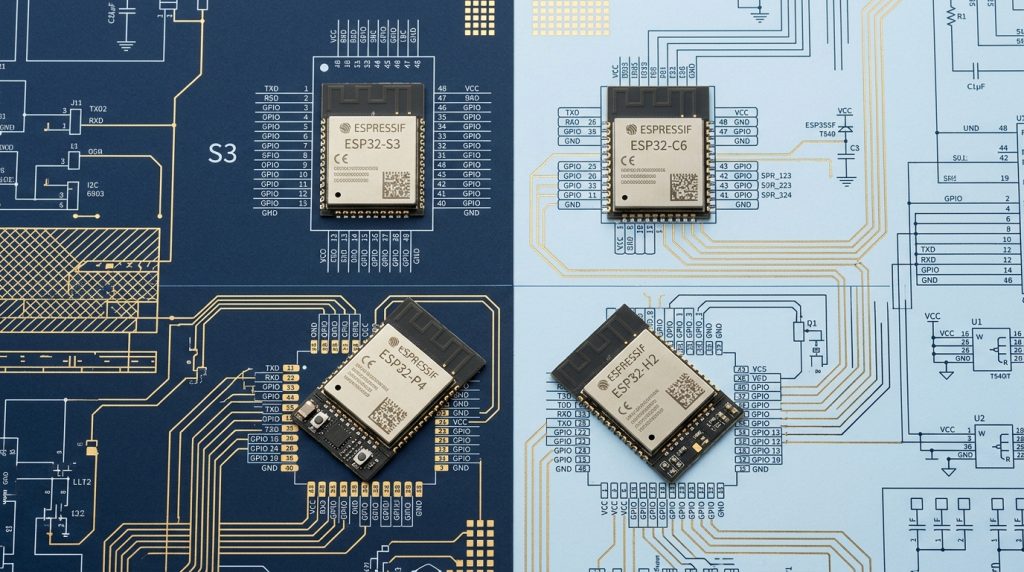
Unlike power-hungry Wi-Fi microcontrollers like the classic ESP32, the ESP32-H2 is dedicated exclusively to low-power mesh wireless protocols:
- Single-Core 32-bit RISC-V CPU (96 MHz): Ultra-efficient instruction execution with microsecond wake-up from deep sleep.
- IEEE 802.15.4 Radio: Native support for Zigbee 3.0 and Thread/Matter protocols.
- Tiny Footprint: Fits directly inside the empty acoustic cavity of standard two-note mechanical chime enclosures.
- Negligible Standby Current: Operates coolly without generating internal heat that could degrade chime solenoids.
The Electrical Challenge: Taming 8V–24V AC Chime Voltage
Standard household doorbells operate on an alternating current (AC) step-down transformer supplying between 8V AC and 24V AC. Connecting this raw AC voltage directly to a 3.3V microcontroller will instantly destroy the chip.
To safely detect a doorbell press without interfering with the mechanical solenoid strike, we use a galvanic optocoupler circuit (PC817 or EL817):
| Component | Component Value | Circuit Function |
|---|---|---|
| Bridge Rectifier | MB6S or 4x 1N4007 Diodes | Converts 12V–24V AC chime voltage to pulsating DC |
| Current Limiting Resistor | 1.5kΩ to 2.2kΩ (1/2 Watt) | Limits current into the optocoupler internal infrared LED |
| Optocoupler | PC817 / EL817 | Completely isolates high-voltage AC from the ESP32-H2 GPIO |
| Smoothing Capacitor | 10uF 50V Electrolytic | Filters 50Hz/60Hz AC oscillations into a solid DC logic signal |
| Pull-Up Resistor | Internal ESP32 Pull-up (or 10kΩ) | Holds GPIO HIGH until optocoupler transistor conducts to GND |
Wiring Schematic: Interfacing with the ESP32-H2
The optocoupler’s phototransistor collector connects to ESP32-H2 GPIO9 (configured with an internal pull-up), and the emitter connects to GND. When a visitor presses the outdoor doorbell button:
- Current flows through the doorbell transformer and rings the physical chime.
- Simultaneously, current flows through the rectifier into the PC817 optocoupler.
- The internal phototransistor saturates, pulling GPIO9 down to LOW.
- The ESP32-H2 hardware interrupt wakes the processor and broadcasts an instantaneous Zigbee/Thread event packet.
Firmware Implementation: Zigbee End Device
Using the official ESP-Zigbee-SDK, configure the ESP32-H2 as a standard Zigbee 3.0 IAS Zone Sensor or Binary Input Cluster:
#include "esp_zigbee_core.h"

#define DOORBELL_GPIO GPIO_NUM_9

static void IRAM_ATTR doorbell_isr_handler(void* arg) {
    // Broadcast Zigbee IAS Zone State Change: Alarm Triggered
    esp_zb_zcl_attr_t *attr = esp_zb_zcl_get_attribute(
        DOORBELL_ENDPOINT,
        ESP_ZB_ZCL_CLUSTER_ID_IAS_ZONE,
        ESP_ZB_ZCL_CLUSTER_SERVER_ROLE,
        ESP_ZB_ZCL_ATTR_IAS_ZONE_ZONESTATUS_ID
    );
    // Send notification report to Home Assistant Zigbee Coordinator
}

void app_main(void) {
    gpio_config_t io_conf = {
        .pin_bit_mask = (1ULL << DOORBELL_GPIO),
        .mode = GPIO_MODE_INPUT,
        .pull_up_en = GPIO_PULLUP_ENABLE,
        .intr_type = GPIO_INTR_NEGEDGE
    };
    gpio_config(&io_conf);
    gpio_install_isr_service(0);
    gpio_isr_handler_add(DOORBELL_GPIO, doorbell_isr_handler, NULL);
}
Home Assistant Automation: Smart Notifications & Security
Once paired via Zigbee2MQTT or ZHA, your doorbell becomes a native sensor. Create an automation that snaps an instant snapshot from your porch camera and pushes an actionable alert with live video stream to your smartphone:
automation:
  - alias: "Doorbell Ring Notification"
    trigger:
      - platform: state
        entity_id: binary_sensor.front_doorbell_pressed
        to: "on"
    action:
      - service: camera.snapshot
        target:
          entity_id: camera.porch_camera
        data:
          filename: "/config/www/doorbell_snap.jpg"
      - service: notify.notify
        data:
          title: "Front Door Alert"
          message: "Someone is at the front door!"
          data:
            image: "/local/doorbell_snap.jpg"