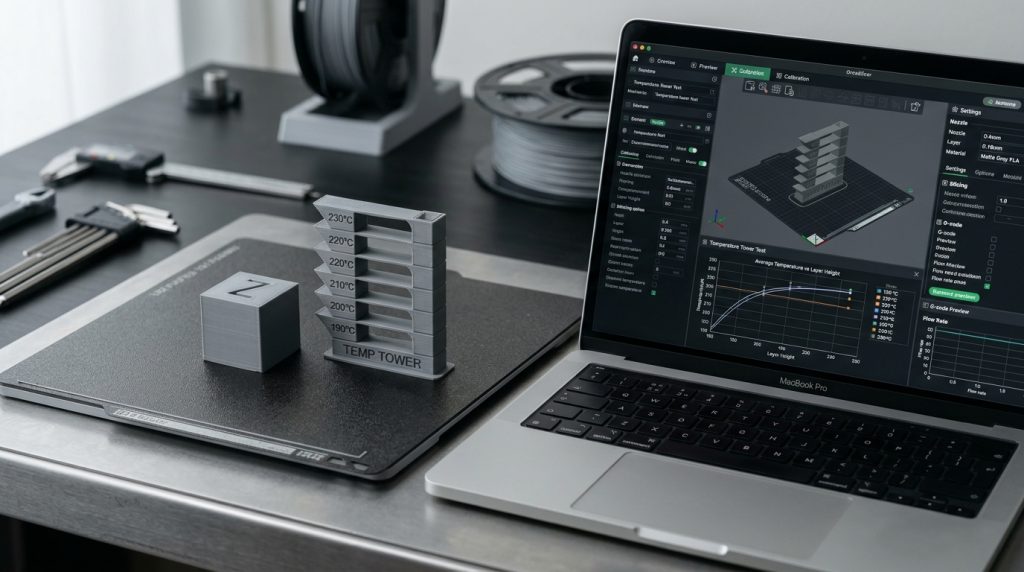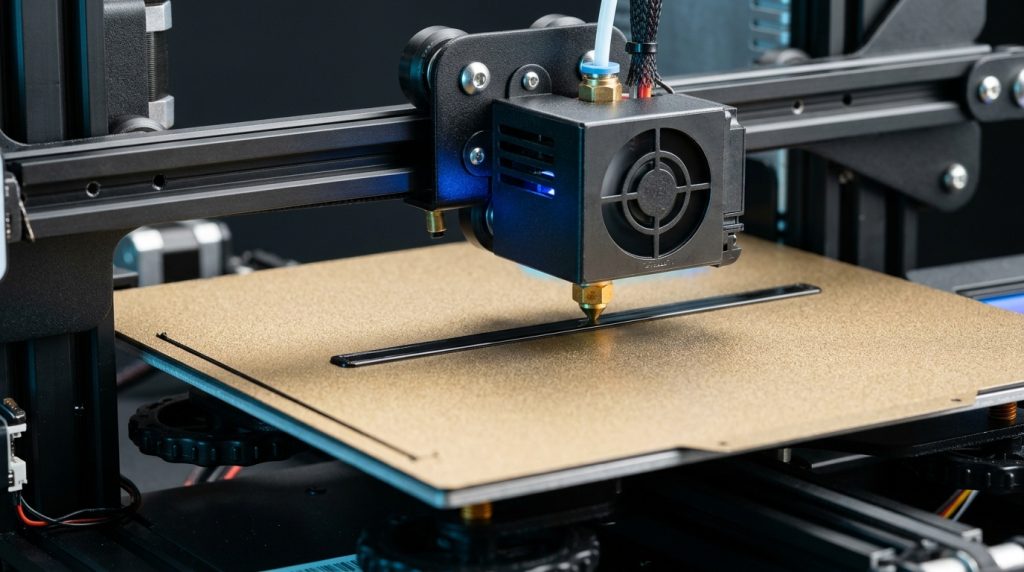
The standard start and end G-code profiles provided by default in Ultimaker Cura for the Creality Ender 3 family (Ender 3, Pro, V2, Neo, and S1) are surprisingly rudimentary. They heat the nozzle and heated bed simultaneously to full printing temperature while stationary at home coordinates, allowing molten filament to ooze out onto the bed, drag across your print surface, and ruin the critical skirt and first layer.
By customizing your start and end G-code routines, you can completely eliminate nozzle drool, automatically load or probe auto bed leveling (BLTouch/CR Touch) mesh data, and deposit an aggressive cleaning purge line that primes nozzle pressure for a flawless first layer every single time.
The Anomaly of Default Cura Pre-Heating Routines
When you start a print with default slicer G-code, Cura executes:
M104 S{material_print_temperature} ; Start heating nozzle
M140 S{material_bed_temperature} ; Start heating bed
M190 S{material_bed_temperature} ; Wait for bed temp
M109 S{material_print_temperature} ; Wait for nozzle temp
G28 ; Home all axes
While the bed is slowly reaching 60°C, the nozzle sits fully heated at 200°C for several minutes. Gravity causes molten filament to dribble out of the orifice. When homing initiates, the oozed plastic sticks to your build plate or gets caught under the nozzle tip, causing leveling inaccuracies and first-layer detachment.
Production-Grade Start G-Code for Ender Printers
The following optimized script uses a two-stage preheating strategy: it warms the nozzle to a non-oozing standby temperature (140°C) during homing and mesh loading, and only ramps up to full melting temperature directly at the start of the purge line:
; ===================================================
; OPTIMIZED START G-CODE FOR CREALITY ENDER 3 / CR-TOUCH
; ===================================================
M117 Preheating bed & soft nozzle...
M140 S{material_bed_temperature_layer_0} ; Start bed heating
M104 S140 ; Set nozzle to 140°C standby (prevents oozing & dripping)
M190 S{material_bed_temperature_layer_0} ; Wait for bed to reach target temp

G28 ; Home all three axes (X, Y, Z)

; --- Auto Bed Leveling (Select ONE method below) ---
; M420 S1 Z2 ; OPTION A: Load existing mesh from EEPROM (Fade height 2mm)
; G29 ; OPTION B: Probe fresh 9-point mesh before every print

G90 ; Set all coordinates to absolute positioning
G1 Z5.0 F3000 ; Lift nozzle to avoid scratching bed

; Move to prime line starting position at the front-left edge
G1 X0.1 Y20 Z0.3 F5000.0

M117 Final nozzle heating...
M109 S{material_print_temperature_layer_0} ; Bring nozzle to final print temp

M117 Drawing double purge line...
G92 E0 ; Reset extruder position to zero
G1 X0.1 Y200.0 Z0.3 F1500.0 E15 ; Draw first purge line from Y20 to Y200
G1 X0.4 Y200.0 Z0.3 F5000.0 ; Step slightly right to X0.4
G1 X0.4 Y20 Z0.3 F1500.0 E30 ; Draw second purge line backwards to Y20
G92 E0 ; Reset extruder position again
G1 Z2.0 F3000 ; Retract slightly and lift nozzle 2mm
G1 X5 Y20 Z0.3 F5000.0 ; Quick wipe move away from purge line

M117 Printing model...
Optimized End G-Code: Safe Part Presentation and Cooldown
A poorly configured end G-code can stop mid-print, leave the hot nozzle resting on top of the finished print, or abruptly pull filament out of the meltzone causing heat creep clogs. The following end script executes clean retraction, lifts the Z gantry, presents the bed forward, and safely powers down heaters:
; ===================================================
; OPTIMIZED END G-CODE FOR CREALITY ENDER 3
; ===================================================
G91 ; Switch to relative positioning
G1 E-2 F2700 ; Retract 2mm of filament to relieve nozzle pressure
G1 E-2 Z0.2 F2400 ; Retract another 2mm and raise Z slightly
G1 X5 Y5 F3000 ; Wipe nozzle 5mm away from printed surface
G1 Z10 F3000 ; Raise Z by 10mm to clear the model

G90 ; Switch back to absolute positioning
G1 X0 Y{machine_depth} F3000 ; Present bed forward towards user

; Power down hardware peripherals
M104 S0 ; Turn off hotend heater
M140 S0 ; Turn off heated bed heater
M106 S0 ; Turn off part cooling fan
M84 X Y E ; Disable X, Y, and E steppers (keep Z engaged to prevent gantry drop)

M117 Print Finished Successfully!
Implementing Custom Scripts in Ultimaker Cura
- Open Ultimaker Cura and navigate to Settings > Printer > Manage Printers.
- Select your active Creality Ender machine profile and click Machine Settings.
- Replace the contents of the Start G-code and End G-code text boxes with the optimized scripts provided above.
- Click Close. Cura will now automatically inject these dynamic pre-heat and mesh commands into every sliced G-code file.